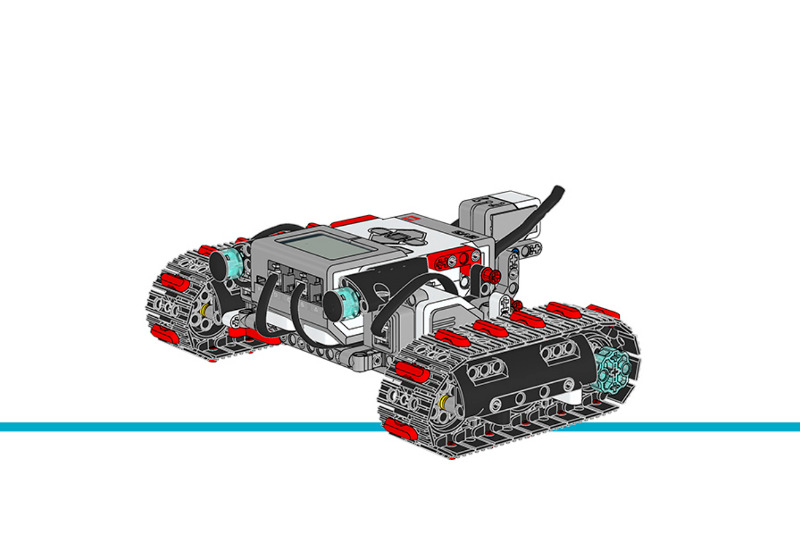
坦克机器人
此示例项目展示了如何使用 Tank Bot 上的陀螺仪传感器可进行准确转弯。根据您按下的 EV3 积木按钮,机器人会以三角形、正方形、五边形或六边形驱动。
拼搭说明
在本站可查找扩展套装模型的所有拼搭说明。

图 33 坦克机器人
示例程序
#!/usr/bin/env pybricks-micropython

"""
Example LEGO® MINDSTORMS® EV3 Tank Bot Program
----------------------------------------------

This program requires LEGO® EV3 MicroPython v2.0.
Download: https://education.lego.com/en-us/support/mindstorms-ev3/python-for-ev3

Building instructions can be found at:
https://education.lego.com/en-us/support/mindstorms-ev3/building-instructions#building-expansion
"""

from pybricks.hubs import EV3Brick
from pybricks.ev3devices import Motor, GyroSensor
from pybricks.parameters import Port, Direction, Button
from pybricks.tools import wait
from pybricks.robotics import DriveBase
from pybricks.media.ev3dev import ImageFile

# Initialize the EV3 brick.
ev3 = EV3Brick()

# Configure 2 motors on Ports B and C.  Set the motor directions to
# counterclockwise, so that positive speed values make the robot move
# forward.  These will be the left and right motors of the Tank Bot.
left_motor = Motor(Port.B, Direction.COUNTERCLOCKWISE)
right_motor = Motor(Port.C, Direction.COUNTERCLOCKWISE)

# The wheel diameter of the Tank Bot is about 54 mm.
WHEEL_DIAMETER = 54

# The axle track is the distance between the centers of each of the
# wheels.  This is about 200 mm for the Tank Bot.
AXLE_TRACK = 200

# The Driving Base is comprised of 2 motors.  There is a wheel on each
# motor.  The wheel diameter and axle track values are used to make the
# motors move at the correct speed when you give a drive command.
robot = DriveBase(left_motor, right_motor, WHEEL_DIAMETER, AXLE_TRACK)

# Set up the Gyro Sensor.  It is used to measure the angle of the robot.
# Keep the Gyro Sensor and EV3 steady when connecting the cable and
# during start-up of the EV3.
gyro_sensor = GyroSensor(Port.S4)

# Initialize the steering and overshoot variables.
steering = 60
overshoot = 5


def right_angle():
    # This function drives the robot forward, turn a right angle, drive
    # forward again, and then turn 180 degrees to drive back along the
    # same path and return to its initial position.

    # Reset the Gyro Sensor angle.
    gyro_sensor.reset_angle(0)

    # Drive forward for 750 millimeters
    robot.straight(750)

    # Turn clockwise until the angle is 90 degrees.
    robot.drive(0, steering)

    ev3.speaker.beep()

    while gyro_sensor.angle() < 90 - overshoot:
        wait(1)
    robot.drive(0, 0)
    wait(1000)

    # Drive forward for 750 millimeters
    robot.straight(750)

    # Turn clockwise until the angle is 270 degrees.
    robot.drive(0, steering)

    ev3.speaker.beep()

    while gyro_sensor.angle() < 270 - overshoot:
        wait(1)
    robot.drive(0, 0)
    wait(1000)

    # Drive forward for 750 millimeters
    robot.straight(750)

    # Turn counterclockwise until the angle is 180 degrees.
    robot.drive(0, -steering)

    ev3.speaker.beep()

    while gyro_sensor.angle() > 180 + overshoot:
        wait(1)
    robot.drive(0, 0)
    wait(1000)

    # Drive forward for 750 millimeters
    robot.straight(750)

    # Turn clockwise until the angle is 360 degrees.
    robot.drive(0, steering)

    ev3.speaker.beep()

    while gyro_sensor.angle() < 360 - overshoot:
        wait(1)
    robot.drive(0, 0)
    wait(1000)


def polygon(sides, length):
    # This function drives the robot along a polygon path.  It uses the
    # number of sides to calculate the angle to turn to, and the length
    # to calculate the time to drive straight.

    # Reset the Gyro Sensor angle.
    gyro_sensor.reset_angle(0)

    # Calculate the angle to turn to and the time to drive straight.
    angle = 360 / sides

    # Drive along the polygon path.
    for side in range(1, sides + 1):
        target_angle = side * angle - overshoot

        # Drive forward.
        robot.straight(length)

        # Turn clockwise until the angle equals the target angle.
        robot.drive(0, steering)

        ev3.speaker.beep()

        while gyro_sensor.angle() < target_angle - overshoot:
            wait(1)
        robot.drive(0, 0)
        wait(1000)


# This is the main part of the program.  It is a loop that repeats
# endlessly.
#
# First, it waits until any Brick Button is pressed.
# Second, it displays the chosen pattern on the screen.
# Finally, it drives in the chosen pattern.
#
# Then the process starts over, so another pattern can be chosen.
while True:

    # Display a question mark to indicate that the robot should await
    # instructions.
    ev3.screen.load_image(ImageFile.QUESTION_MARK)

    # Wait until any Brick Button is pressed.
    while not any(ev3.buttons.pressed()):
        wait(10)

    ev3.screen.clear()

    # Respond to the Brick Button press.  Display the chosen pattern on
    # the screen and drive in this pattern.
    if Button.UP in ev3.buttons.pressed():
        # Drive in a right angle.
        ev3.screen.draw_text(30, 50, "Right Angle")
        wait(1000)
        right_angle()

    if Button.LEFT in ev3.buttons.pressed():
        # Drive in a triangle shape.
        ev3.screen.draw_text(30, 50, "Triangle")
        wait(2000)
        polygon(3, 850)

    if Button.CENTER in ev3.buttons.pressed():
        # Drive in a square shape.
        ev3.screen.draw_text(30, 50, "Square")
        wait(2000)
        polygon(4, 700)

    if Button.RIGHT in ev3.buttons.pressed():
        # Drive in a pentagon shape.
        ev3.screen.draw_text(30, 50, "Pentagon")
        wait(2000)
        polygon(5, 575)

    if Button.DOWN in ev3.buttons.pressed():
        # Drive in a hexagon shape.
        ev3.screen.draw_text(30, 50, "Hexagon")
        wait(2000)
        polygon(6, 490)

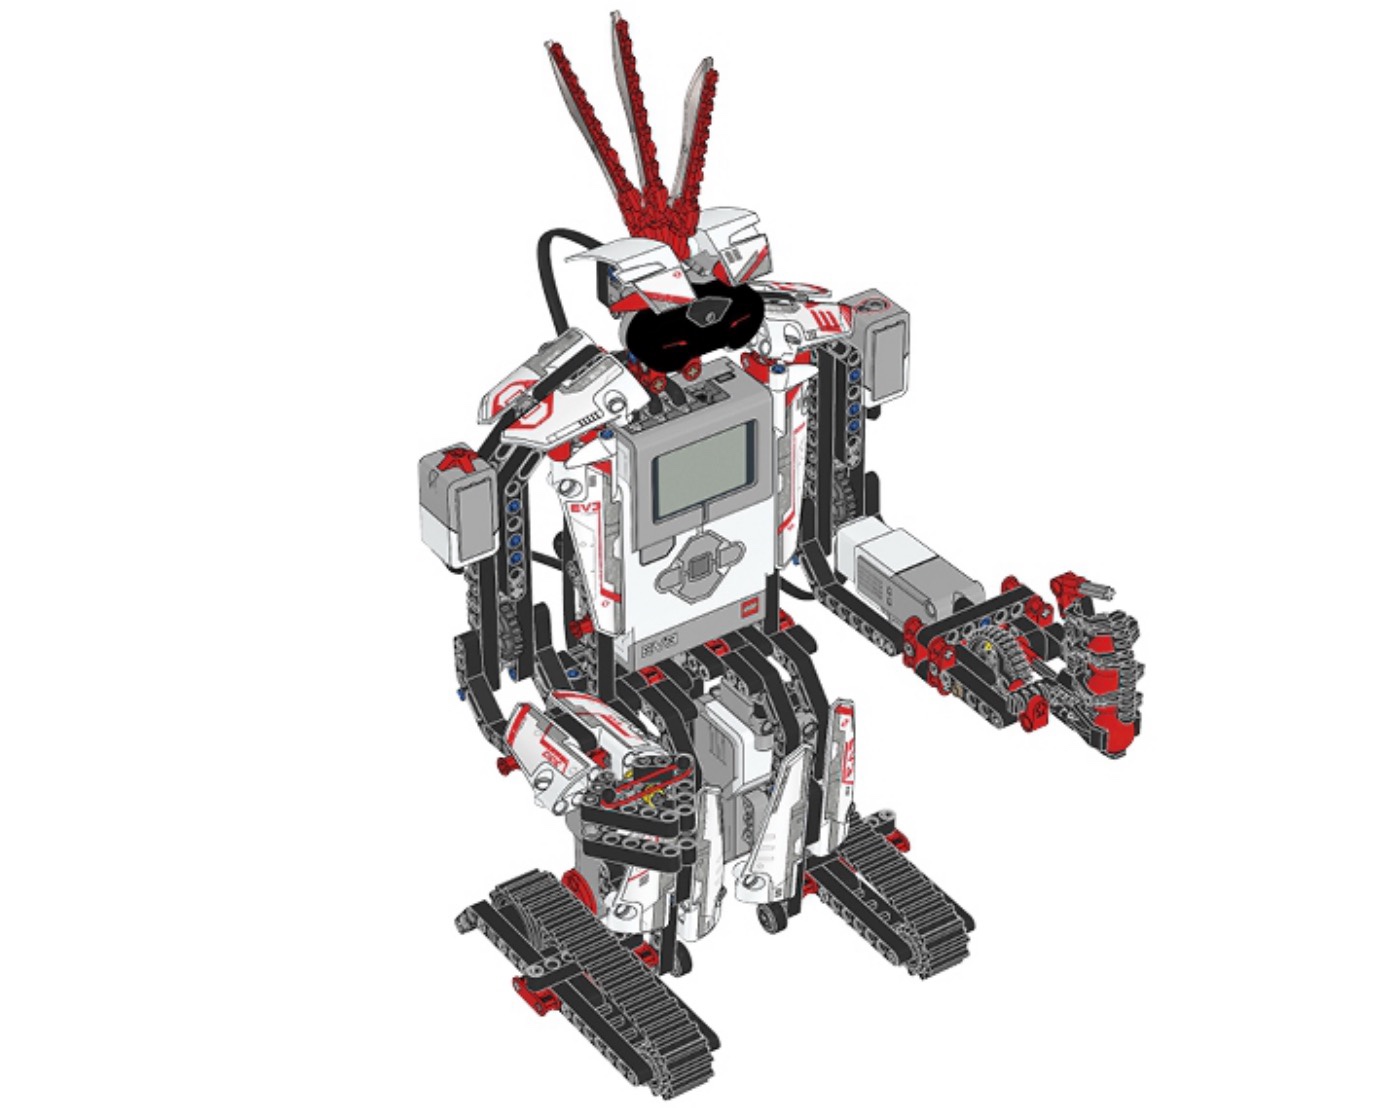
wait(100) EV3机器人

